Overview
This article walks Account Admins through setting up Single Sign-On (SSO) with Okta using OpenID Connect (OIDC). Enabling SSO provides a secure and streamlined login experience for users and improves organizational compliance.
Who This Applies To
✅ Account Role: Application Admin
✅ Plan Type: Enterprise
Step-by-Step Instructions
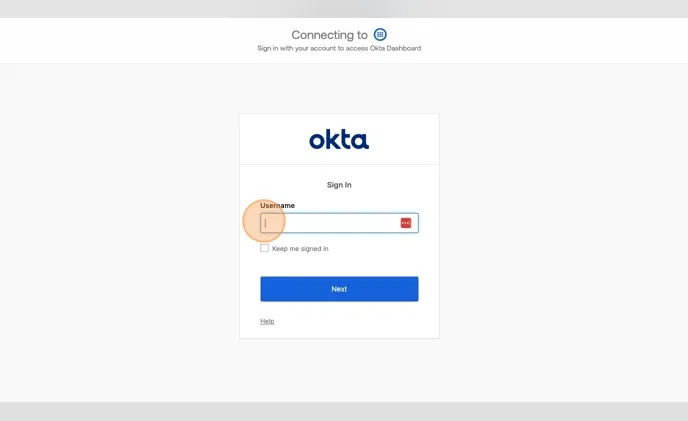
Log in to your Okta Admin Dashboard
- Navigate to your Okta organization and sign in as an Admin.
Create a New App Integration
From the Admin Console, go to Applications > Applications.
Click Create App Integration.
Choose OIDC - OpenID Connect and select Web Application.
🗣️ Note: OIDC must be selected for compatibility with BombBomb’s SSO service.
Configure App Integration Settings
App Name: BombBomb SSO
-
Sign-in redirect URIs:
https://[your-subdomain].bombbomb.com/sso/callback
Leave Sign-out redirect URIs blank.
Before saving:
Assign the application to appropriate users or groups by selecting them in the Assignments section.
Then click Save and Continue.
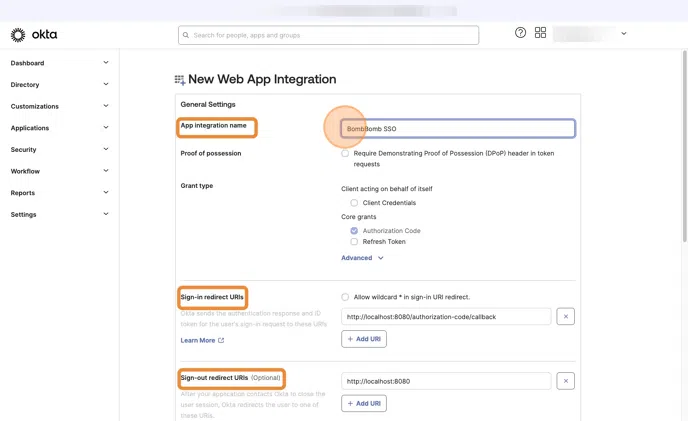
🗣️ Note: Replace [your-subdomain] with your actual BombBomb workspace URL.
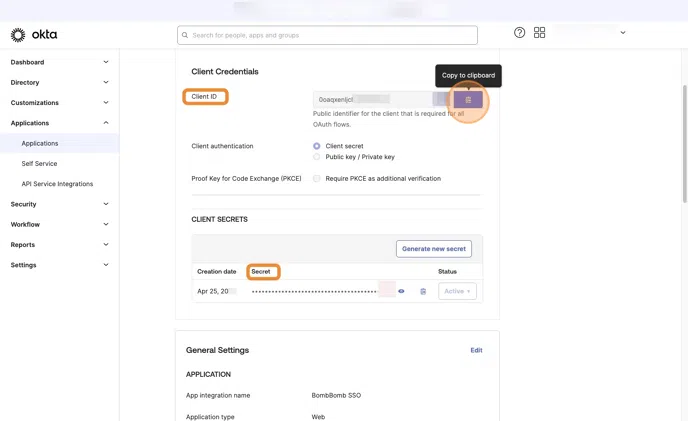
Gather OIDC Credentials from Okta
After saving, go to the application's General tab.
Copy the Client ID and Client Secret.
Locate and copy your Issuer URL.
Submit OIDC Information to BombBomb Support
Email the following details to support@bombbomb.com:
Client ID
Client Secret
Issuer URL
Your workspace subdomain (e.g.,
yourcompany.bombbomb.com)
🗣️ Note: Our team will complete the setup and confirm once SSO is active.
FAQs / Common Issues
Q: What if I receive a redirect_uri_mismatch error?
A: Double-check your redirect URI in Okta matches exactly: https://[your-subdomain].bombbomb.com/sso/callback.
Q: How long does it take BombBomb to complete setup?
A: Most requests are processed within 1–2 business days.